

Shower Renovation Planning: Costs, Layouts, Safety, and UpkeepKey Takeaways
- Begin with the everyday problems your current shower creates.
- Finalize layout, drainage, waterproofing, storage, and lighting before selecting finishes.
- Plan for moisture control and ventilation as carefully as tile and fixtures.
- Safety features can make the shower more comfortable for people with changing needs.
- Detailed scopes and written estimates help prevent costly misunderstandings.
- Routine cleaning and inspections protect the finished space.
A successful shower remodel starts with function. Before comparing colors, tile patterns, or glass styles, identify what does not work in the existing space. The best shower renovations solve practical concerns such as leaks, poor drainage, limited storage, difficult cleaning, or an uncomfortable entry.
Careful planning also helps you make choices that will remain useful after installation. A shower should fit the room, support daily routines, manage water reliably, and be realistic for the available budget.
Start With Clear Remodeling Goals
Write down the problems the remodel must solve. Look for visible stains, loose grout, recurring leaks, soft walls, poor lighting, a high threshold, or a cramped space. Then separate your list into must-haves, useful upgrades, and style preferences. This keeps important decisions from being overshadowed by finishes and accessories.
Questions to Ask First
- Does water drain quickly and stay inside the shower?
- Is the entry comfortable and safe to use?
- Are toiletries, towels, and cleaning supplies easy to store?
- Does the room remain damp long after bathing?
- Could future mobility needs affect the design?
Check the Existing Shower Space
Measure the shower width, depth, ceiling height, door opening, and clear floor space outside the entrance, then record each number so you can compare it against product specifications. Note the drain location, plumbing walls, control placement, nearby outlets, lighting, and exhaust fan. Inspect for signs of water damage around walls, floors, and ceilings below the bathroom, such as stains, soft spots, or peeling paint. Local rules vary, so confirm permit and inspection requirements before moving plumbing, wiring, walls, or structural elements.
Choose a Layout That Works
Layout affects comfort, privacy, cleaning, and project complexity. Keeping the drain and supply lines in their current positions can limit disruption. Moving them may improve the design, but it can add labor and require changes below or behind the shower.
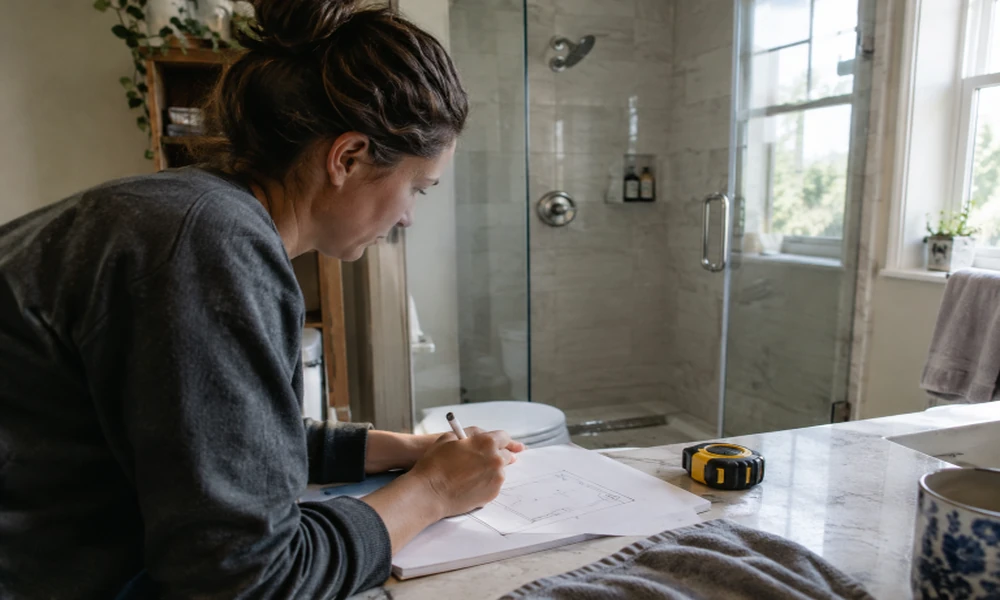
Sketch the room before demolition. Check door swings, glass-panel placement, room for a towel within reach, and clear access to controls. Also consider where a bench, handheld sprayer, shelves, or support bars would fit without restricting movement.
Plan Waterproofing, Drainage, and Ventilation
Water management is the foundation of a durable shower. Finished surfaces may look complete, but moisture can still cause damage if the assembly behind them is not properly prepared. Review the waterproofing approach, sealed corners and penetrations, floor slope, drain capacity, and exhaust path before installing surfaces. Practical guidance on these shower components can help homeowners ask better questions during planning.
The shower floor should direct water toward the drain, and the fan should move humid air outdoors rather than simply into another enclosed space. Inspect caulk, grout, trim, and door seals periodically, as small gaps can allow water into hard-to-reach areas.
Select Fixtures and Useful Features
Choose fixtures based on regular use, not appearance alone. A handheld sprayer can simplify rinsing and cleaning. Controls should be easy to reach without standing directly under cold water. Built-in niches or shelves reduce clutter, while a low threshold, slip-resistant floor, dependable lighting, and correctly located support bars can improve comfort and safety.
Features Worth Comparing
- Fixed showerheads, handheld sprayers, or both
- Single-handle and thermostatic controls
- Built-in niches, corner shelving, and seating
- Clear glass, textured glass, or a shower curtain
- Low-threshold and curbless entry options
Build a Realistic Project Budget
Budget for more than the visible materials. A complete scope may include design, demolition, disposal, plumbing, framing repair, electrical work, waterproofing, wall and floor surfaces, fixtures, doors, permits, and cleanup. Keep a contingency reserve for concealed damage or outdated components discovered after removal begins.
Ask for written estimates that explain what is included, excluded, and assumed. Current bathroom remodeling trends also point toward larger showers and planning for future needs, but trend-driven choices should still fit your space, maintenance preferences, and daily routine.
Decide Between DIY and Professional Work
Experienced homeowners may be comfortable removing accessories, painting nearby walls, or installing simple hardware. Plumbing relocations, electrical changes, waterproofing systems, structural repairs, heavy glass, and permitted work often require qualified professionals, as mistakes can lead to leaks, safety hazards, or costly rework. Before hiring, verify licensing where required, insurance, references, written warranty terms, and payment expectations. Request an itemized estimate, confirm who handles permits and inspections, and ask how changes will be approved. Taking these steps helps you choose a contractor who protects both your investment and your home.
Prepare for Installation
Installation commonly follows a logical order: confirm the design, order materials, protect adjacent areas, remove old surfaces, inspect the structure, complete plumbing and electrical work, install waterproofing, add finishes and fixtures, then test drainage, seals, water flow, and ventilation. Prepare for dust, noise, deliveries, and restricted bathroom access. Remove personal items and keep children and pets away from the work zone. Arrange an alternate bathroom for daily routines, since the project may last several days. Daily communication with your contractor helps resolve surprises quickly and keeps the schedule on track.
Care for the Remodeled Shower
Simple habits reduce soap buildup, mineral deposits, and premature wear. Use a squeegee on glass and smooth walls when appropriate, run the exhaust fan during bathing and afterward, and follow the care guidance for your specific surfaces. Check caulk, grout, drains, and door seals every few months. Avoid abrasive pads and cleaners that are not approved for the installed materials.
Common Questions About Shower Remodeling
How long does a shower remodel take?
The timeline depends on the project scope, material availability, plumbing changes, inspections, hidden damage, and curing requirements. A surface update is usually less involved than a full replacement or layout change.
Is it better to keep the existing layout?
Keeping the layout can reduce plumbing work. A change may still be worthwhile when the existing shower is unsafe, poorly drained, too small, or difficult to use.
Are walk-in showers safer?
A low entry can help, but safety depends on the full design. Stable flooring, lighting, support bars, control placement, and a handheld sprayer all matter.
Final Planning Checklist
- Define the problems the remodel must solve.
- Measure the room and document existing plumbing.
- Confirm permit and inspection requirements.
- Choose layout and water-management details before finishing.
- Compare detailed estimates and set aside contingency funds.
- Select features for comfort, safety, and maintenance.
- Follow material-specific care instructions after installation.
A well-planned shower remodel is built on practical decisions made early. When layout, water control, accessibility, budget, and maintenance receive equal attention, the finished shower can look good and work better every day.
