

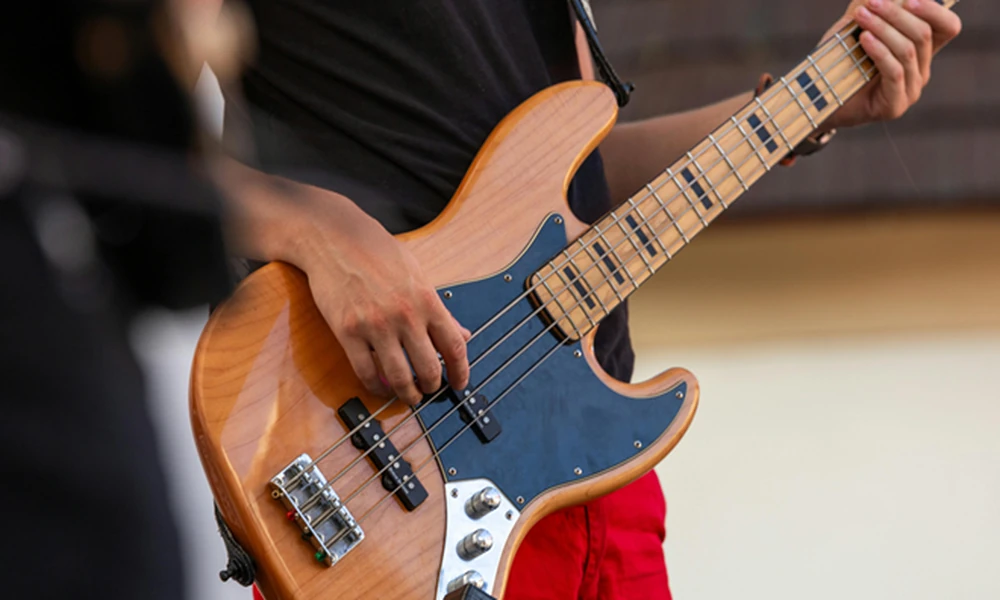
The bass guitar is often viewed purely as an instrument of baseline structural support-a tool for anchoring the root note and locking down the groove with the drummer. While maintaining the pocket is always your primary objective, a modern bass player must also be prepared to step into the spotlight. Whether you are filling space during an open jam, executing a melodic fill between vocal phrases, or taking a full multi-chorus jazz solo, you need to navigate the fretboard without hesitation.
Amateur players often find themselves trapped in vertical “box patterns,” moving up and down a single position because they lack a visual roadmap of the neck. To achieve true fluidity, you must train your eyes and fingers to recognize intersecting geometric patterns across all four (or more) strings.
By mastering these six essential fretboard patterns, you will break out of static positions, connect ideas across octaves, and unlock creative freedom during live improvisation.
1. The “Two-String Octave” Anchor
The octave shape is the absolute bedrock of bass fretboard geometry. No matter where you are on a standard-tuned bass, finding an instrument’s octave is incredibly consistent. Learning to jump fluidly between these anchors allows you to instantly shift registers during a solo, adding dynamic excitement without losing track of your harmonic root.
The Geometric Pattern: From your starting note on either the E or A string, move two strings higher (higher in pitch, meaning down toward the floor) and two frets up (toward the body of the bass). For example, if your root note is G on the 3rd fret of the E string, its octave sits on the 5th fret of the D string. Practice connecting these two positions using ghost notes, slides, and rhythmic variations to create an instant melodic dialogue across registers.
2. The Universal Minor Triad Diagonal
Minor chords dominate modern songwriting, from R&B to heavy rock. Staying inside a vertical box shape for a minor triad limits your directional options. The minor triad diagonal allows you to traverse the fretboard horizontally, traveling up the neck while maintaining a smooth, linear flow.
The Geometric Pattern: Play your root note with your index finger. Next, play the minor third on the same string using your pinky finger (three frets up). From there, cross over to the next adjacent string with your index finger to hit the perfect fifth. By mapping out this specific layout, your hand naturally shifts forward on the fretboard, positioning your fingers to effortlessly attack the next octave up without interrupting your musical phrasing.
3. The 1-4-5 Interlocking Arpeggio Box
Many chord progressions revolve around the standard I, IV, and V chords. Instead of moving your entire arm up and down the neck to reach these distinct root transitions, you can utilize an interlocking geometric pattern that gives you immediate access to all three chords within a single four-fret span.
The Geometric Pattern: Locate your root chord (I) on the A string. Your IV chord sits directly underneath it on the same fret of the D string. Your V chord sits on that exact same fret, but up on the E string. This creates an incredibly efficient, tight cluster of notes. By practicing your arpeggios within this localized shape, you can build intricate, fast-moving solos over a classic twelve-bar blues or pop progression with minimal hand movement.
4. The Dominant 7th “Diamond”
If you play funk, blues, or classic rock, you will spend a vast amount of time improvising over dominant 7th chords. The dominant 7th contains a major third but a flat seventh, giving it a bluesy, tension-filled quality. Visually mapping this out as a diamond shape makes improvisational targeting effortless.
The Geometric Pattern: Start with your middle finger on the root note. Drop down one string and back one fret with your index finger to hit the major third. Move to the next string down and find the perfect fifth with your pinky. Finally, drop down to the highest string with your index finger to strike the flat seventh. This creates a clean diamond shape that you can slide smoothly up and down the neck to match any dominant chord transition.
5. The “Three-Notes-Per-String” Scale Expansion
Standard scale shapes usually restrict you to two or three notes before forcing a string change, creating boxy, fragmented phrasing. To execute lightning-fast linear runs, you should adopt the three-notes-per-string framework, which forces your fretting hand to stretch and glide horizontally across the wood.
The Geometric Pattern: Rather than playing a standard major scale pattern vertically, map it out so that you strictly play three notes on the E string, three notes on the A string, and so on. This approach requires wider finger extensions and intentional position shifts, but it allows you to cover more than an octave and a half in a single, sweeping upward motion.
6. The Minor Pentatonic “Extended Runway”
The minor pentatonic scale is the ultimate safety net for improvisors because it strips away half-steps, meaning almost every note you play will sound pleasing over a minor chord backdrop. Instead of playing it in a closed box, you can chain three adjacent boxes together to create an extended runway that covers the entire length of the neck.
The Geometric Pattern: Play the first two notes of the pentatonic scale on your lowest string. On the next string, slide your index finger up two frets to catch the next scale degree before finishing the pattern. This sliding technique links your positions seamlessly, transforming what would have been a stagnant, repetitive loop into an expansive, fluid melody.
Memorizing these physical geometric layouts is an excellent starting point, but true fluency occurs when you stop actively thinking about the shapes and begin channeling raw emotion directly through your fingertips. Bridging that critical gap between mechanical pattern practice and elite-level musical expression requires a structured environment and professional mentorship.
If you are ready to move past basic online tutorials and master the finer nuances of advanced harmony, ear training, and live performance ensemble skills, enrolling in a dedicated music college for bassists can be the definitive step that transforms your natural technical agility into a sustainable, professional music career. Keep practicing your lines, map out your fretboard, and always protect the groove.
